How to Collect Resources for a Project Without Drowning
December 20, 2025
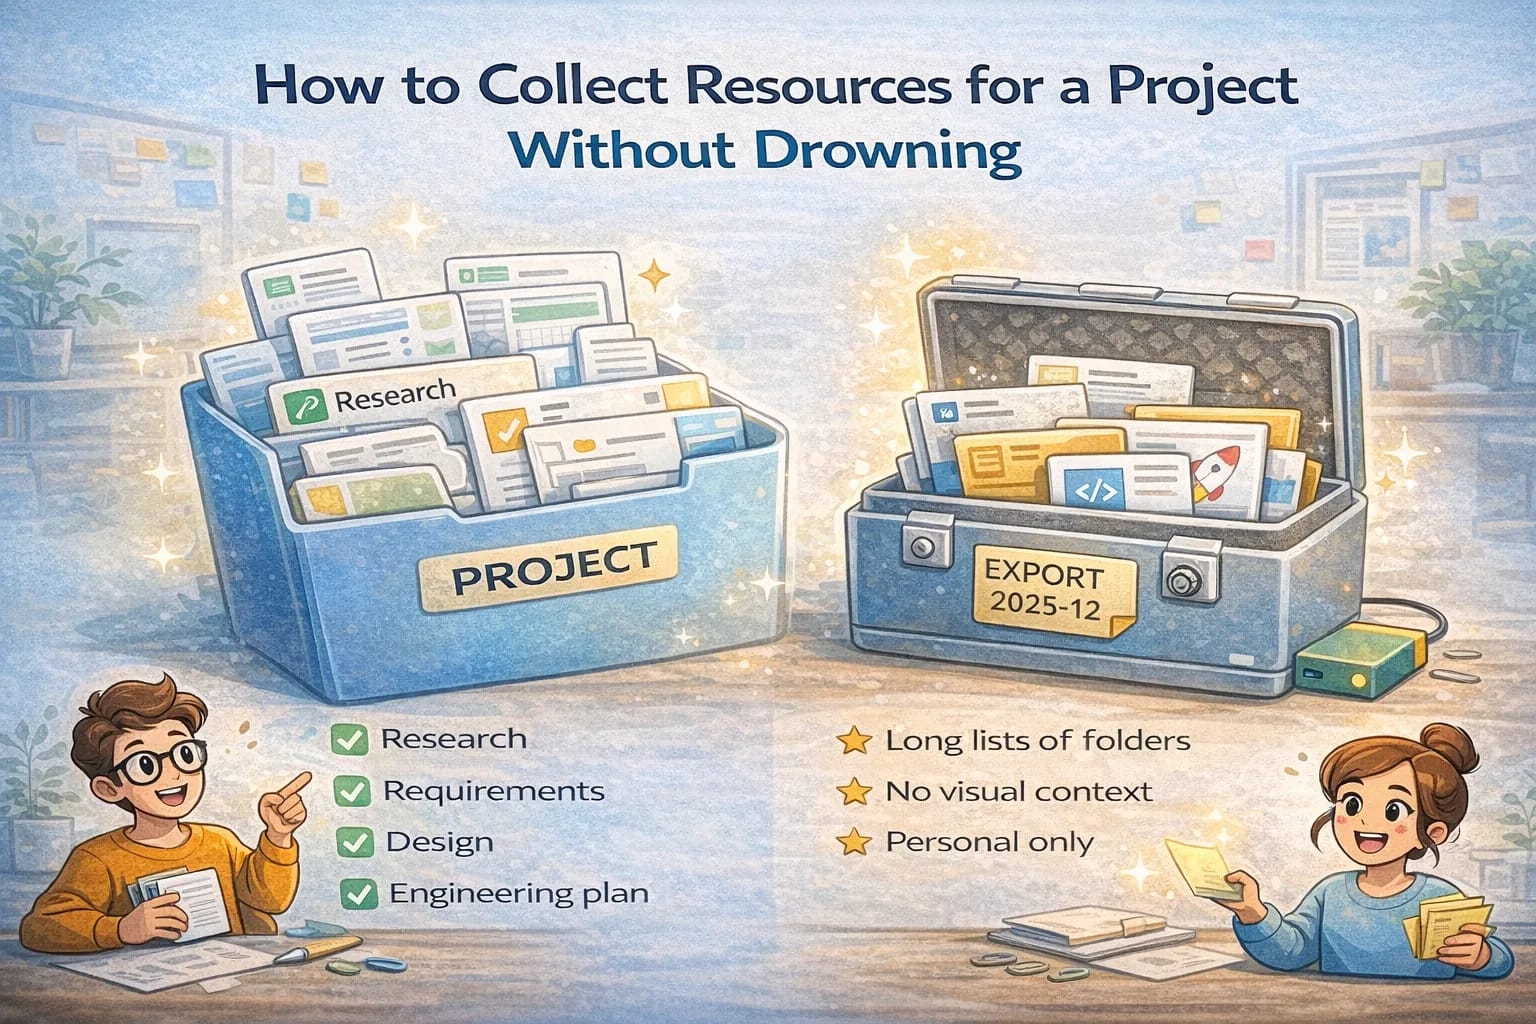
Projects live or die by how fast the team can find what they need. Design inspiration, competitor screenshots, API docs, code examples, reference articles, spreadsheets, legal templates. The list grows and grows. Without a plan, resources scatter across chats, email, and personal folders. Here is a simple approach that keeps everything visible and useful.
Create a home base playlist
Make one playlist named after the project with the word Base. Example: “Onboarding redesign Base.” This is where you place the highest value links that everyone needs at least once. At the top, write a three line intro: goal, timeline, and where to ask questions.
Split into focused sub playlists
As soon as the base grows past ten items, split by outcome. Examples:
- Research findings and examples
- Requirements and scope
- Design assets and handoff
- Engineering plan and docs
- Launch plan and tracking
These are not just buckets. Each one should have a short pinned note about how to use it.
Title for scanning
Write titles that make selection easy. “Competitor onboarding flow from Stripe” beats “Stripe blog.” “API pagination example with cursor” beats “Docs pagination.” When you scan the list in a standup, clear titles save minutes every day.
Keep a tiny inbox
Add a small playlist called Inbox to catch incoming resources. Once a day or during standup, move items out of Inbox into the right place or delete them. This prevents a backlog from slowing the team.
Agree on a sharing rule
Decide one shared rule for the team: where to paste a link first, how to name it, and when to remove it. A clear rule replaces arguments later. It also means new teammates can follow the pattern on day one.
Make handoffs painless
When you hand off to another group, share a snapshot link to the right playlist. Add a short note with the three most important items to review first. Clean handoffs reduce confusion and protect momentum.
A good resource system is simple, visible, and maintained in small bursts. You will spend less time digging and more time building.
Why resource collection fails on real projects
Most teams start with good intentions and end with a mess for predictable reasons:
- Links live in too many places (chat, email, docs, browser bookmarks, personal notes).
- Titles are vague, so the list can’t be scanned.
- Everything is treated as equally important, so nothing is easy to find.
- The “collector” changes (someone goes on vacation) and the system dies.
The fix is not a heavyweight tool. The fix is choosing one home base and creating two habits: triage and weekly pruning.
The goal: make the next decision easier
Good project resources are not about having “all the links.” They are about reducing decision time.
When a PM asks “what did we decide about onboarding copy?” or an engineer asks “what API shape did we agree on?” you should be able to answer in minutes.
That is the benchmark: time to find the right reference.
Step 1: Establish a single source of truth
Pick one place that is the default location for project links.
If you use ClipNotebook, create a notebook for the project and treat it as the link layer for the work.
The rule should be simple:
- If a link matters, it goes into the project notebook.
- If it doesn’t belong there, it doesn’t belong anywhere.
This reduces “where should I look?” fatigue.
Step 2: Build a two-level structure (base + focused lists)
Your “Base” list is the front door. It should stay small and useful.
The Base list (8–15 items)
Keep only the links the whole team needs:
- product brief / scope
- timeline and milestones
- UX references the team agreed on
- key docs (API, data model, analytics plan)
At the top, keep a short intro:
- project goal
- constraints
- where decisions are recorded
Focused sub-lists (outcome-based)
Split by the type of decision the list supports:
- Requirements & scope (PRD, edge cases, acceptance criteria)
- Research & examples (competitors, best practices, screenshots)
- Design (components, flows, copy, accessibility notes)
- Engineering (API docs, architecture notes, tricky constraints)
- Launch & tracking (analytics spec, dashboards, rollout plan)
When lists are outcome-based, they stay relevant.
Step 3: Title links so a standup scan works
When you title a link, imagine reading it out loud in a standup.
Bad titles:
- “Docs”
- “Good article”
- “Competitor”
Good titles:
- “Competitor example: Stripe onboarding screens (paywall step)”
- “Decision: auth approach (why we chose email links)”
- “API reference: pagination and cursor format”
- “Research: why people abandon step 2 (mobile friction)”
If someone can’t tell why the link exists from the title, the title is not doing its job.
Step 4: Use a simple triage list for incoming links
Incoming links should not land directly into your curated lists.
Create one small “Incoming” list where links go first. Then process it in small bursts:
- During standup, or
- In a 10-minute daily pass
Processing means:
- move it to the right list
- rewrite the title
- delete if it’s duplicate or weak
This prevents the project notebook from turning into a dump.
Step 5: Create a “decision link” convention
Projects get messy when decisions live only in meetings.
Use a convention: for every major decision, create one link card that points to the decision record (a doc, an issue, a PR). Title it clearly:
- “Decision: X (date) — why we chose it”
This turns resource collection into organizational memory.
Step 6: Add two rituals that keep it alive
Ritual A: weekly pruning (15 minutes)
Once per week:
- Delete duplicates.
- Promote the 3–5 most important links to the top.
- Archive links that were useful but are no longer active.
Pruning keeps the list trustworthy.
Ritual B: handoff preparation (10 minutes)
Before a handoff (design → engineering, engineering → QA), prepare a short “start here” set:
- the 3 most important links
- the current decision doc
- any constraints and edge cases
This prevents “go read everything” handoffs.
What to collect (and what to avoid)
Collect:
- primary docs and standards
- internal decisions and acceptance criteria
- examples with screenshots and concrete reasoning
- data and metrics that change decisions
Avoid:
- low-signal listicles
- outdated references
- links without context
If you include an opinion piece, label it as opinion.
A quick quality checklist for each link
Before you keep a link, ask:
- Does this link support an active decision?
- Can I explain why it matters in one sentence?
- Would a new teammate understand it from the title?
If not, rewrite the title or delete the link.
Final handoff checklist
When you share a project resource pack, ensure it contains:
- goal and scope
- key decisions
- top examples
- engineering constraints
- launch/tracking references
If the receiver can start work from those, you did it right.
Add ownership so the system survives
The best structure still fails if no one feels responsible for it.
Pick one owner for the project resource notebook. Ownership does not mean “do all the work.” It means:
- ensuring new links go through triage
- running the weekly prune
- keeping the Base list accurate
In practice, this is 10–15 minutes a week.
If ownership rotates, write down the rules in the Base intro so the next person can continue the pattern.
How to handle duplicates and near-duplicates
Duplicates are not always identical. You will often have:
- two articles explaining the same concept
- the same doc link with different anchors
- two competitor screenshots that show the same screen
Use a simple rule:
- Keep the best one.
- If the second one adds a unique angle, keep it but retitle it to explain the difference.
This keeps lists short without losing signal.
Make “the top 5” obvious
Most teammates will not read 40 links. They will read 5.
In each focused playlist, try to keep a short “Top 5” section at the top:
- 1–2 primary references
- 1–2 concrete examples
- 1 decision record
Everything else can exist lower in the list for deeper dives.
A fast way to turn resources into action
If your resource list grows but the project doesn’t move, convert links into tasks.
During triage, ask:
- “What decision does this support?”
- “What task should happen after reading this?”
Then write the task directly into the title or note:
- “Read and extract 3 onboarding patterns to test”
- “Decide analytics events for sign-up flow”
This is how a link list becomes progress.


